Rotisserie Chicken Taco Casserole
Highlighted under: Quick Meal Inspirations
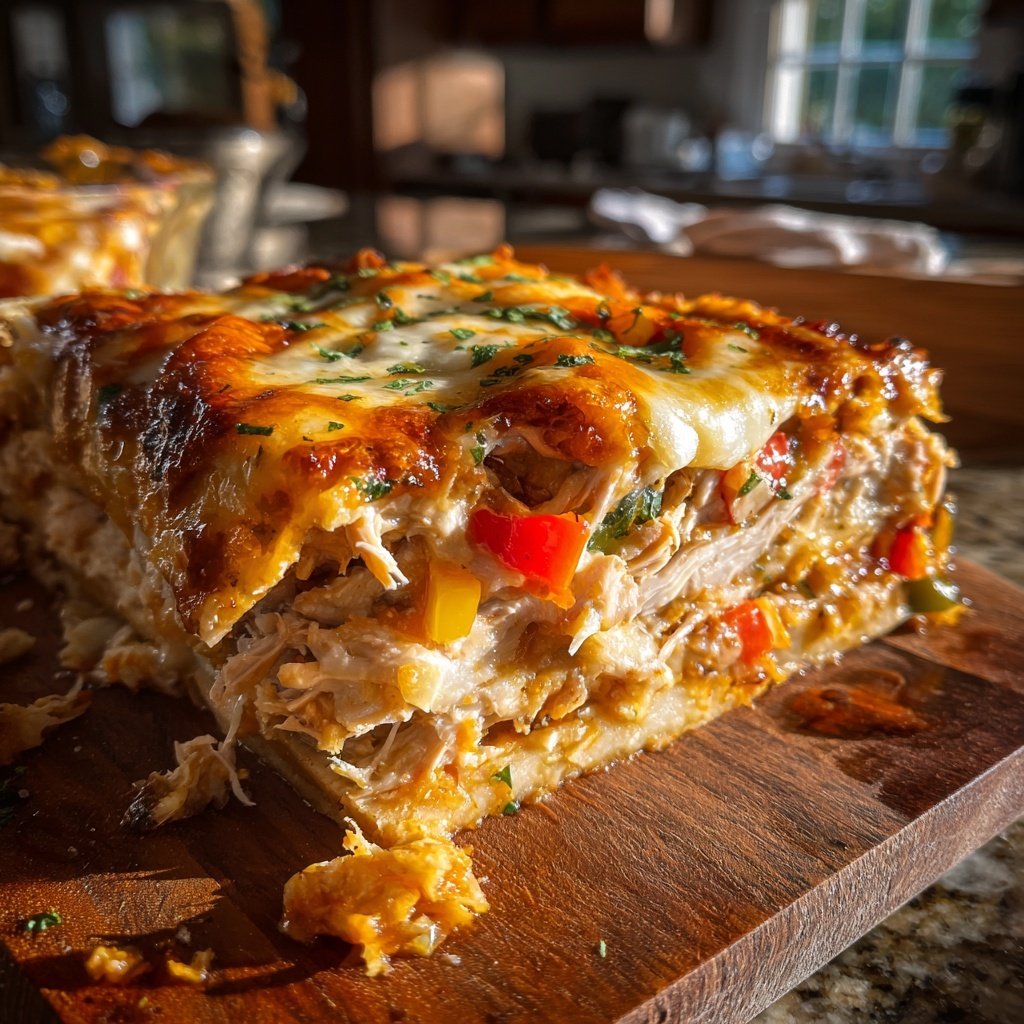
I love creating quick dinners that are both delicious and satisfying, and this Rotisserie Chicken Taco Casserole is a perfect example. It combines the convenience of pre-cooked rotisserie chicken with a medley of flavorful ingredients, resulting in a dish that pleases everyone at the table. With layers of cheesy goodness, spicy taco flavors, and a crispy topping, it’s sure to become a family favorite. Plus, it’s ready in just under an hour, making it ideal for busy weeknights.
When I first made this Rotisserie Chicken Taco Casserole, I was amazed at how simple yet flavorful it turned out. I used store-bought rotisserie chicken to save time, and it blended perfectly with the taco seasoning and other ingredients. This dish is a great way to utilize leftover chicken, and it’s incredibly versatile—you can add your favorite toppings to customize it to your taste.
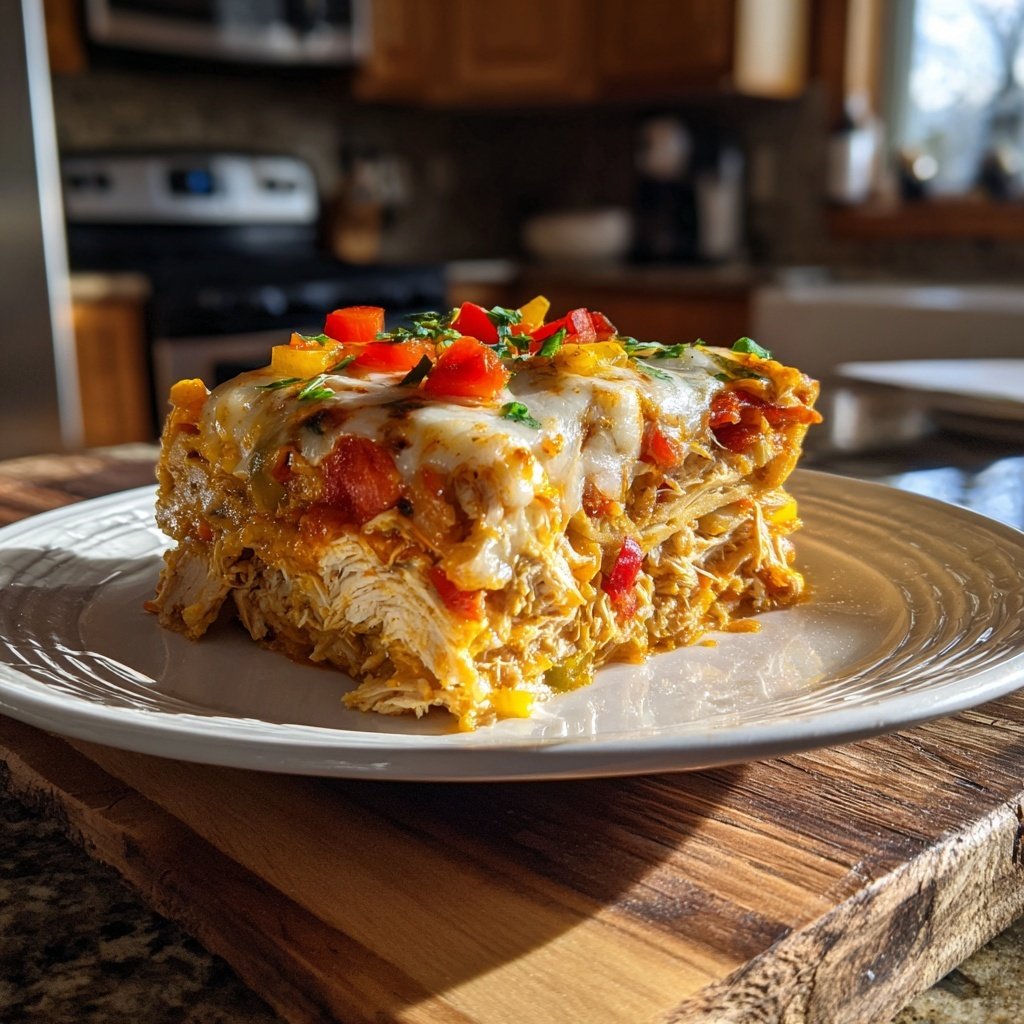
One tip I learned is to let the casserole rest for a few minutes after coming out of the oven. This helps the layers settle and makes serving so much easier. I love to top mine with fresh avocado and cilantro for a burst of freshness that complements the savory flavors beautifully.
Why You'll Love This Recipe
- Quick and easy, perfect for busy weeknights
- Packed with bold taco flavors everyone will enjoy
- Cheesy, hearty, and comforting dish that satisfies
Ingredient Insights
The use of rotisserie chicken simplifies the preparation of this casserole, saving you valuable time without sacrificing flavor. I recommend choosing a chicken that is well-seasoned to enhance the overall taste of the dish. If you're short on time, you can even find pre-shredded chicken at grocery stores, which works well as a shortcut. However, ensure it’s pulled into bite-sized pieces to maximize its integration into the casserole layers.
Black beans add not just protein but also creaminess that complements the other ingredients beautifully. If you prefer, you can substitute them with pinto beans or even quinoa for a different twist. For a spicier kick, consider using a can of diced tomatoes with green chilies in place of regular salsa to amplify the heat level while adding moisture.
Assembly Tips
When layering the casserole, don’t be tempted to skimp on the sour cream layer, as it provides a rich, creamy contrast to the cheesy top. Spread it evenly to ensure every bite is luscious. Use a rubber spatula for easy application, which allows you to reach the corners of the baking dish effortlessly. I also suggest covering the dish with foil during the first half of baking to prevent the cheese from browning too quickly.
To elevate the texture, gently press down on the crushed tortilla chips before adding the remaining cheese. This not only helps them adhere better but also creates a delightful crunch that holds up against the melty cheese layer. Keep an eye on the casserole towards the end of the cooking time; you want it bubbly with just golden edges for a perfect finish.
Ingredients
For the Casserole
- 2 cups cooked rotisserie chicken, shredded
- 1 cup black beans, drained and rinsed
- 1 cup corn, drained
- 1 packet taco seasoning
- 1 cup salsa
- 1 1/2 cups shredded cheese (cheddar or Mexican blend)
- 1 cup crushed tortilla chips
- 1/2 cup sour cream
- 1/4 cup chopped green onions
Optional Toppings
Instructions
Preheat the Oven
Preheat your oven to 350°F (175°C).
Combine Ingredients
In a large mixing bowl, combine the shredded chicken, black beans, corn, taco seasoning, salsa, and 1 cup of cheese. Mix until well combined.
Assemble the Casserole
Spread the chicken mixture evenly in a greased 9x13-inch baking dish. Top with sour cream, then sprinkle the crushed tortilla chips on top. Finally, add the remaining cheese.
Bake
Bake in the preheated oven for 25-30 minutes, or until the cheese is bubbly and golden.
Serve
Let the casserole rest for a few minutes before serving. Top with chopped green onions and any desired toppings.
Pro Tips
- Feel free to customize this casserole with your favorite toppings, such as jalapeños, olives, or fresh cilantro. Serve it with a side of guacamole for an extra treat!
Storage and Reheating
This casserole can be made ahead and stored in the refrigerator for up to three days, making it an excellent option for meal prep. Simply cover it tightly with plastic wrap or aluminum foil. If you’re storing leftovers, portion them out into individual servings for easy reheating. You can also freeze the casserole before baking; just make sure to wrap it tightly. To bake from frozen, add an extra 10-15 minutes to the original baking time, and check for doneness.
Reheating the casserole in the microwave is quick but can result in a slightly soggy top. If you prefer the crispy texture, reheat it in the oven at 350°F (175°C) until heated through, which may take 20-25 minutes. For a quick fix, you can cover it loosely with foil to prevent over-browning while it warms up.
Variations and Serving Suggestions
Feel free to get creative with the toppings! Adding sliced jalapeños or diced bell peppers before baking can add fresh flavors and texture. For an extra burst of color, sprinkle chopped cilantro on top just before serving. If you want to make it a complete meal, serve the casserole with a side of guacamole and a fresh green salad, which balances the richness of the dish perfectly.
For dietary considerations, this casserole can easily be modified. To make it gluten-free, just ensure you’re using gluten-free tortilla chips and double-check that all other ingredients are certified gluten-free. Additionally, you could substitute the sour cream with Greek yogurt for a lighter version or use a dairy-free cheese to cater to lactose intolerances, ensuring everyone can enjoy this tasty meal.
Questions About Recipes
→ Can I use turkey instead of chicken?
Absolutely! Cooked turkey works just as well and can add a unique flavor to the casserole.
→ How can I make this dish vegetarian?
You can replace the chicken with extra beans or cooked vegetables like zucchini and bell peppers.
→ Can I freeze leftovers?
Yes, this casserole freezes well. Just make sure to store it in an airtight container.
→ What should I serve with the casserole?
This dish pairs well with a simple green salad or some fresh fruit for a refreshing contrast.
Rotisserie Chicken Taco Casserole
Created by: Lucinda Price
Recipe Type: Quick Meal Inspirations
Skill Level: Easy
Final Quantity: 6 servings
What You'll Need
For the Casserole
- 2 cups cooked rotisserie chicken, shredded
- 1 cup black beans, drained and rinsed
- 1 cup corn, drained
- 1 packet taco seasoning
- 1 cup salsa
- 1 1/2 cups shredded cheese (cheddar or Mexican blend)
- 1 cup crushed tortilla chips
- 1/2 cup sour cream
- 1/4 cup chopped green onions
How-To Steps
Preheat your oven to 350°F (175°C).
In a large mixing bowl, combine the shredded chicken, black beans, corn, taco seasoning, salsa, and 1 cup of cheese. Mix until well combined.
Spread the chicken mixture evenly in a greased 9x13-inch baking dish. Top with sour cream, then sprinkle the crushed tortilla chips on top. Finally, add the remaining cheese.
Bake in the preheated oven for 25-30 minutes, or until the cheese is bubbly and golden.
Let the casserole rest for a few minutes before serving. Top with chopped green onions and any desired toppings.
Extra Tips
- Feel free to customize this casserole with your favorite toppings, such as jalapeños, olives, or fresh cilantro. Serve it with a side of guacamole for an extra treat!
Nutritional Breakdown (Per Serving)
- Calories: 380 kcal
- Total Fat: 26g
- Saturated Fat: 15g
- Cholesterol: 195mg
- Sodium: 85mg
- Total Carbohydrates: 32g
- Dietary Fiber: 3g
- Sugars: 24g
- Protein: 6g