Chocolate Hazelnut Tart
Highlighted under: Oven Treats
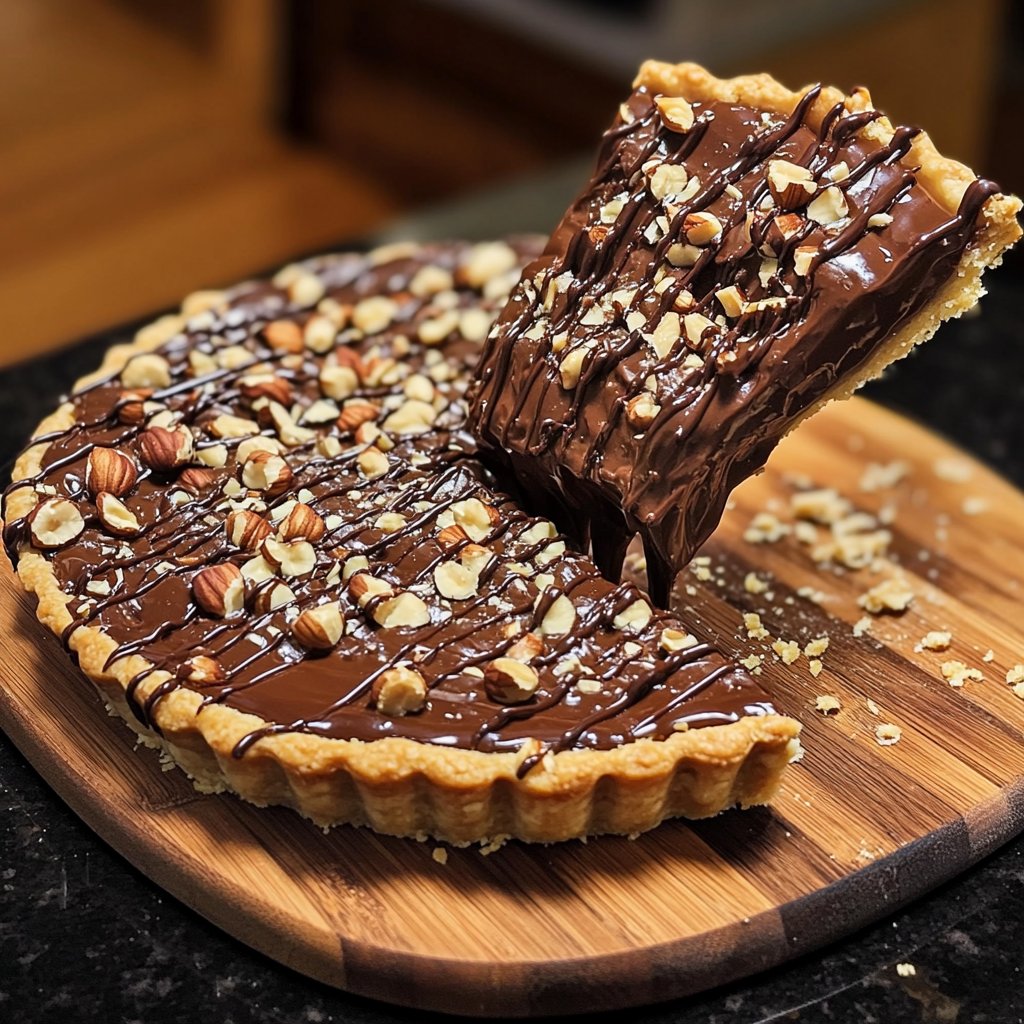
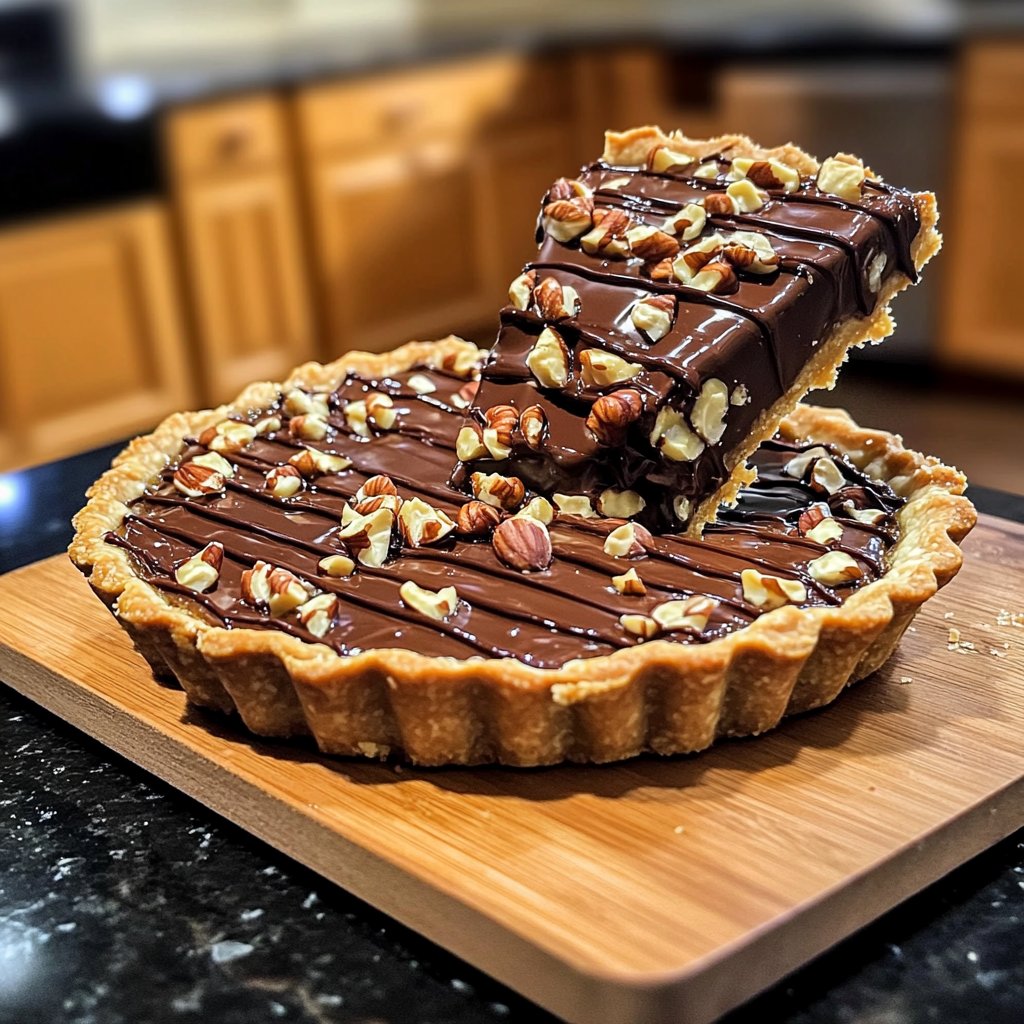
When I first tried making a Chocolate Hazelnut Tart, I was amazed by how easy it was to combine rich chocolate and toasted hazelnuts into a harmonious dessert. The buttery crust contrasts beautifully with the velvety filling, making each bite a delightful experience. I love how this dessert showcases simple yet elegant ingredients, perfect for gatherings or just a cozy evening at home. Join me in creating this indulgent tart, where every slice brings a smile to the table.
As I baked my first Chocolate Hazelnut Tart, I couldn’t help but admire how the layers melded together. The secret lies in using high-quality chocolate and freshly roasted hazelnuts for that intense flavor. I remember the moment I took the first slice; it was buttery and nutty, with just the right amount of sweetness.
Over the years, I've learned that letting the tart chill in the fridge for a couple of hours enhances the flavors significantly. This dessert is perfect for any occasion, and I always get requests for the recipe every time I serve it!
Why You Will Love This Recipe
- Rich chocolate flavor paired with fresh hazelnut notes
- Creamy texture that melts in your mouth
- A show-stopping dessert perfect for special occasions
Choosing the Right Chocolate
The chocolate you choose for the filling can greatly influence the flavor of your tart. For a deep, rich taste, opt for a high-quality dark chocolate with at least 70% cocoa content. This will provide the necessary intensity to balance the sweetness of the filling. Avoid using chocolate chips as they contain stabilizers that can hinder the smooth melting needed for this tart.
When melting the chocolate and cream together, use a double boiler to prevent overheating. Stir continuously until the mixture is glossy and smooth; this should take about 5-7 minutes. If the mixture starts to thicken too quickly, remove it from the heat to avoid seizing the chocolate.
Perfecting the Crust
The crust serves as the foundation for the tart, so getting it right is crucial. It should be crumbly yet firm enough to hold the filling without breaking. After mixing the dough, press it evenly into the tart pan, ensuring to push it into the corners. Aim for a thickness of about 1/4 inch. If the dough is sticky, chilling it before pressing can help.
Pre-baking the crust is essential for achieving a crisp texture. When you pierce it with a fork, ensure the holes are evenly spaced to allow steam to escape, which prevents bubbling. Bake it until the edges begin to firm up and set, typically around 15 minutes, then allow it to cool completely before adding the filling.
Serving and Storing Your Tart
Once your Chocolate Hazelnut Tart has cooled, refrigerating it for at least two hours enhances its flavors and allows it to set perfectly. For an added touch, consider serving it with a dollop of whipped cream or a scoop of vanilla ice cream. A light dusting of cocoa powder or some additional chopped hazelnuts can elevate its presentation.
If you have leftovers, store the tart covered in the refrigerator for up to 3 days. However, for optimal taste and texture, serve it within the first 24 hours. Freezing is also an option; wrap individual slices tightly in plastic wrap and foil to prevent freezer burn. Thaw them in the refrigerator before serving again.
Ingredients
Gather these ingredients before you start:
For the Crust
- 1 ½ cups all-purpose flour
- ½ cup unsweetened cocoa powder
- ½ cup powdered sugar
- 1/4 teaspoon salt
- 1/2 cup unsalted butter, softened
- 1 egg yolk
- 2 tablespoons cold water
For the Filling
- 200g dark chocolate, chopped
- 200ml heavy cream
- 100g hazelnuts, toasted and chopped
- 3 large eggs
- ½ cup granulated sugar
- 1 teaspoon vanilla extract
Make sure to have everything ready to ensure a smooth cooking process!
Instructions
Follow these steps to create your delicious Chocolate Hazelnut Tart:
Prepare the Crust
In a mixing bowl, combine flour, cocoa powder, powdered sugar, and salt. Mix in the softened butter until crumbly. Add the egg yolk and cold water, mixing until a dough forms. Press the dough into a tart pan and refrigerate for 30 minutes.
Pre-bake the Crust
Preheat your oven to 350°F (175°C). Pierce the crust with a fork and bake for 15 minutes. Remove from oven and let it cool.
Prepare the Filling
Melt the chopped chocolate and heavy cream together over a double boiler until smooth. In another bowl, whisk the eggs and sugar until pale. Add the chocolate mixture and vanilla, then fold in the chopped hazelnuts.
Fill the Tart
Pour the filling into the pre-baked crust, smoothing the top with a spatula. Bake for an additional 15 minutes. Remove from oven and cool to room temperature.
Chill and Serve
Refrigerate the tart for at least 2 hours before serving. Slice and enjoy your Chocolate Hazelnut Tart with a sprinkle of chopped hazelnuts on top.
Make sure to slice carefully and serve chilled for the best flavor!
Pro Tips
- For an extra layer of flavor, consider adding a pinch of sea salt to the filling or serving it with a dollop of whipped cream.
Ingredient Substitutions
If you're looking to make this tart dairy-free, replace the heavy cream with coconut cream and use dairy-free chocolate. The flavor will be slightly different, but still delicious, as the coconut adds a unique twist. Additionally, for a gluten-free version, substitute all-purpose flour with a gluten-free blend that includes xanthan gum to ensure proper structure.
When it comes to the hazelnuts, if you can’t find fresh ones, you can use pre-roasted hazelnuts but be sure to chop them roughly to maintain a crunchy texture. Pecans are a great alternative if hazelnuts are not available; they will impart a different but equally pleasant flavor profile.
Scaling the Recipe
This recipe can easily be scaled up for larger gatherings. To make a larger tart, simply double the ingredients and use a larger tart pan. Keep in mind the baking time might increase slightly, so monitor the filling closely during the second baking phase. Visual cues like a slightly firm top and the filling pulling away from the edges will indicate it's done.
If you want to make individual tarts or mini versions, use a muffin tin or tartlet pans instead. The baking time will be reduced, likely around 10-12 minutes, so check them often to avoid overbaking. These bite-sized treats are perfect for parties where guests appreciate mini desserts.
Troubleshooting Common Issues
If your filling appears grainy after mixing, it may be due to heating the chocolate too quickly or using chocolate that's not high quality. Retrying with a better chocolate or making sure to melt slowly can fix this issue. Remember to fold ingredients gently to maintain airy texture.
If the tart crust shrinks while baking, it might be due to overworking the dough or not having enough rest time in the refrigerator. Make sure to chill the crust well after forming it to keep its shape intact during baking. If you notice shrinkage, you can simply press the edges back into shape while it’s still warm.
Questions About Recipes
→ Can I use milk chocolate instead of dark chocolate?
Yes, you can use milk chocolate, but keep in mind that the tart will be sweeter.
→ How do I know when the tart is done baking?
The filling will be set around the edges but slightly wobbly in the center when done.
→ Can I make this tart ahead of time?
Absolutely! The tart can be made a day in advance and stored in the refrigerator until ready to serve.
→ What can I serve with the Chocolate Hazelnut Tart?
It pairs wonderfully with whipped cream, vanilla ice cream, or fresh berries.
Chocolate Hazelnut Tart
Created by: Lucinda Price
Recipe Type: Oven Treats
Skill Level: Intermediate
Final Quantity: 8 servings
What You'll Need
For the Crust
- 1 ½ cups all-purpose flour
- ½ cup unsweetened cocoa powder
- ½ cup powdered sugar
- 1/4 teaspoon salt
- 1/2 cup unsalted butter, softened
- 1 egg yolk
- 2 tablespoons cold water
For the Filling
- 200g dark chocolate, chopped
- 200ml heavy cream
- 100g hazelnuts, toasted and chopped
- 3 large eggs
- ½ cup granulated sugar
- 1 teaspoon vanilla extract
How-To Steps
In a mixing bowl, combine flour, cocoa powder, powdered sugar, and salt. Mix in the softened butter until crumbly. Add the egg yolk and cold water, mixing until a dough forms. Press the dough into a tart pan and refrigerate for 30 minutes.
Preheat your oven to 350°F (175°C). Pierce the crust with a fork and bake for 15 minutes. Remove from oven and let it cool.
Melt the chopped chocolate and heavy cream together over a double boiler until smooth. In another bowl, whisk the eggs and sugar until pale. Add the chocolate mixture and vanilla, then fold in the chopped hazelnuts.
Pour the filling into the pre-baked crust, smoothing the top with a spatula. Bake for an additional 15 minutes. Remove from oven and cool to room temperature.
Refrigerate the tart for at least 2 hours before serving. Slice and enjoy your Chocolate Hazelnut Tart with a sprinkle of chopped hazelnuts on top.
Extra Tips
- For an extra layer of flavor, consider adding a pinch of sea salt to the filling or serving it with a dollop of whipped cream.
Nutritional Breakdown (Per Serving)
- Calories: 380 kcal
- Total Fat: 26g
- Saturated Fat: 15g
- Cholesterol: 195mg
- Sodium: 85mg
- Total Carbohydrates: 32g
- Dietary Fiber: 3g
- Sugars: 24g
- Protein: 6g